Getting setup on Sublime Text 3 (2017 Edition)
Roughly a 4 minute read by Jamie Wright
I originally wrote about Switching to Sublime back in 2014 so I felt it was worth sharing how I setup my coding environment in 2017.
Let’s get started!
Following this relatively simple guide, you’ll be coding like a pro in no time and as with all things, step one is installation. Download Sublime Text and follow the standard installation process.
Plugins
Sublime has millions (ok probably more like thousands) of plugins that can enhance it’s functionality dramatically, but one of these plugins makes it a much simpler and friendly experience. Package control means that you can search for the plugin you’re after and then install in the click of a button.
Once you’ve opened sublime, look across the menu bar and click View and then select Show console from the list. Once you’ve done that you’ll now see a new panel at the bottom of your window (the console).
In the box you’ll want to paste the following block of code and hit enter!
import urllib.request,os,hashlib; h = 'df21e130d211cfc94d9b0905775a7c0f' + '1e3d39e33b79698005270310898eea76'; pf = 'Package Control.sublime-package'; ipp = sublime.installed_packages_path(); urllib.request.install_opener( urllib.request.build_opener( urllib.request.ProxyHandler()) ); by = urllib.request.urlopen( 'http://packagecontrol.io/' + pf.replace(' ', '%20')).read(); dh = hashlib.sha256(by).hexdigest(); print('Error validating download (got %s instead of %s), please try manual install' % (dh, h)) if dh != h else open(os.path.join( ipp, pf), 'wb' ).write(by)
This may take a few minutes to install but once you’re done you can hide the console from the same View menu.
Now you can simply install plugins using Package Control. Press cmd + shift + p (mac) or ctrl + shift + p (windows/linux), a drop down menu will appear at the top of your window, type "inst" into the filtering field and you should then have highlighted an item titled Package Control: Install Package, select this by clicking it or hit enter.
The box will momentarily disappear while it downloads the latest list of packages available. Once the dropdown reappears you can search for plugins and pressing enter on the one you want to install, and voila!
Check the bottom of the article for my list of essential plugins!
Plugin recommendations
- Emmet
- SideBarEnhancements
- SublimeLinter
- BrackerHighlighter
- SublimeCodeIntel
- HTML5
- SCSS
- All Autocomplete
- Color Highlighter
- CSS3
- Laravel Blade Highlighter (only if you use Laravel obviously)
- GitGutter
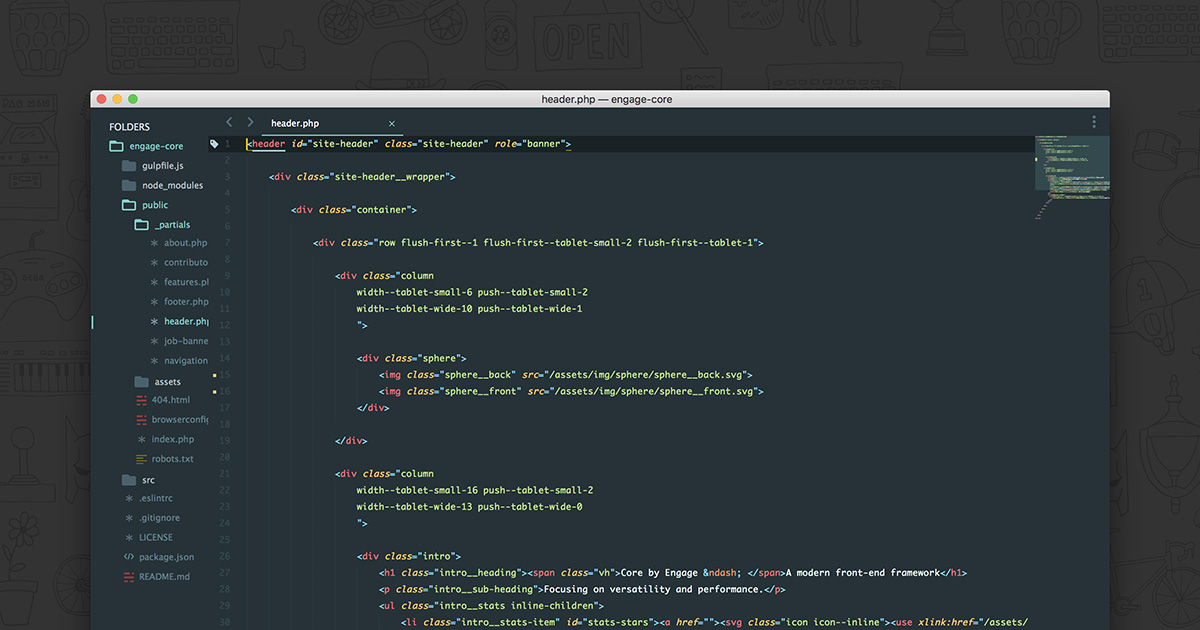
Look and feel
There are three major pieces to this puzzle when it comes to changing the admittedly ugly default appearance of Sublime. The first is Colour scheme, which covers the colour of the syntax highlighting of your files. The second is Theme which is responsible for the sidebar, tabs and all other panels. My recommendation is to find a matching theme and colour scheme as this obviously results in the most elegant looking solution.
Theme recommendations
- Material Theme with the Material colour scheme
- Theme - itg.flat with the itg.Monokai colour scheme
Settings
The third consideration when customising the appearance of Sublime is your user settings file. When you open settings from the preferences you’ll be greeted with 2 windows side by side. The left window shows you a list of ever option you can change, it’s default and a comment of what it can do and the options you can use.
Changing the default settings
Whatever you do, don’t change the settings in the left file, you need to copy the line you want to change into the right window (user settings) and then change it there. This will prevent you from losing your settings every time Sublime updates (which will restore any setting in the default file back to the the default options).
Recommended settings
If you’re brave (and have installed the previously mentioned material theme) you can just copy and paste this whole list of settings into your file to gain a Jamie’s seal of approval setup.
{
"always_show_minimap_viewport": true,
"auto_find_in_selection": true,
"bold_folder_labels": false,
"caret_style": "wide",
"close_windows_when_empty": false,
"color_scheme": "Packages/Material Theme/schemes/Material-Theme.tmTheme",
"copy_with_empty_selection": false,
"create_window_at_startup": false,
"detect_indentation": true,
"dictionary": "Packages/Language - English/en_GB.dic",
"drag_text": false,
"file_exclude_patterns":
[
    ".DS_Store"
],
"folder_exclude_patterns":
[
    ".bundle",
    ".git",
    ".hg",
    ".sass-cache",
    ".svn",
    "bin",
    "CVS",
    "tmp"
],
"font_options":
[
    "subpixel_antialias"
],
"font_face": "Monaco",
"font_size": 10,
"highlight_line": true,
"highlight_modified_tabs": true,
"ignored_packages":
[
    "Vintage"
],
"indent_guide_options":
[
    "draw_normal",
    "draw_active"
],
"line_padding_bottom": 3,
"line_padding_top": 3,
"match_brackets_angle": true,
"material_theme_accent_orange": true,
"material_theme_compact_sidebar": true,
"material_theme_panel_separator": true,
"material_theme_small_tab": true,
"overlay_scroll_bars": "enabled",
"theme": "Material-Theme.sublime-theme",
"trim_trailing_white_space_on_save": true,
"word_wrap": true
}
Next steps
That’s the basics sorted, you should now be ready to start coding again. There are other features that you may want to use so I’ve provided some further reading before:
- Understanding Projects in Sublime Text – Saving, Switching, Etc.
- Best of Sublime Text 3: Features, Plugins, and Settings
PS. ...that icon
I really think the icon is ugly, so here are some alternatives you might want to consider.